Getting started
Your first days in Omertane
Never played before? Start here: a checklist for your first session, a plan for the first week and every step in order. For how each system works in detail, open The game.
Your first session
Seven things to do before you close the tab. Each one links to its step below.
A plan for the first week
The first 72 hours are under shield, so there is no rush, only a good order.
Day 1
Found the family and take the guided tour. Spend the starting stock on the Villa and the production buildings, and aim for Villa level 3. Train your first Brawlers, send a gathering convoy and claim the Daily Newspaper rewards. Do not attack anyone yet: launching an attack drops your newcomer shield, and the game asks you to confirm first.
Day 2
Read your reports and spend what the convoys brought home. Queue a long research before bed and recruit more Capos. When the army is ready, attack a low-level racket, knowing that the attack ends your shield.
The rest of the week
Build the Wall and keep troops at home before the shield ends, then join a syndicate for reinforcements and chat. Come back every day for the newspaper and the weekly check-in, and watch your Heat.
The steps in detail
Create your account
Pick a username (3 to 15 letters, digits or underscores), an email address and a password. Your username is the one other players see as “Don <username>” and it cannot be changed later, so choose with care. One account is all you need. Either you are signed in right away or, while account confirmation emails are switched on, we first email you a link to confirm your address (open it within 60 minutes).
Found the family
Name your family (3–10 characters, unique) and pick a crest. You will get a villa in a neighbourhood with a free plot, a 72-hour shield, 500 gold and two Common Capos, free of charge.
Take the guided tour
The first time you enter the game, a short tour offers to walk you through the game: your family, the buildings, the army, the map and the rewards, in 5 lessons and 17 steps, with the real screens highlighted. You can start it, postpone it or skip it, and replay any lesson later from the Tutorials button on your profile in the game. Finishing all of them earns the Learned the Ropes achievement: 100 gold, a resource pack, a Capo box and a one-hour construction speeder.
Put the wood to work
You get 2,000 wood, 600 iron and 2,400 cash, plus a resource pack, two relocation passes and starter speeders (20 × 1 minute, 10 × 15 minutes, 5 × 30 minutes and one of an hour, for each type). The Villa, the Lumber mill, the Clubhouse, Metallurgy and the Wall are already built at level 1. Raise the Villa to level 3 to unlock the Depot and the Barracks. Keep the construction queue busy: you start with one queue place, and a second one (500 gold) lets the next order wait in line. Watch out: the Villa caps the other buildings, so upgrade it too.
More in The game: The compound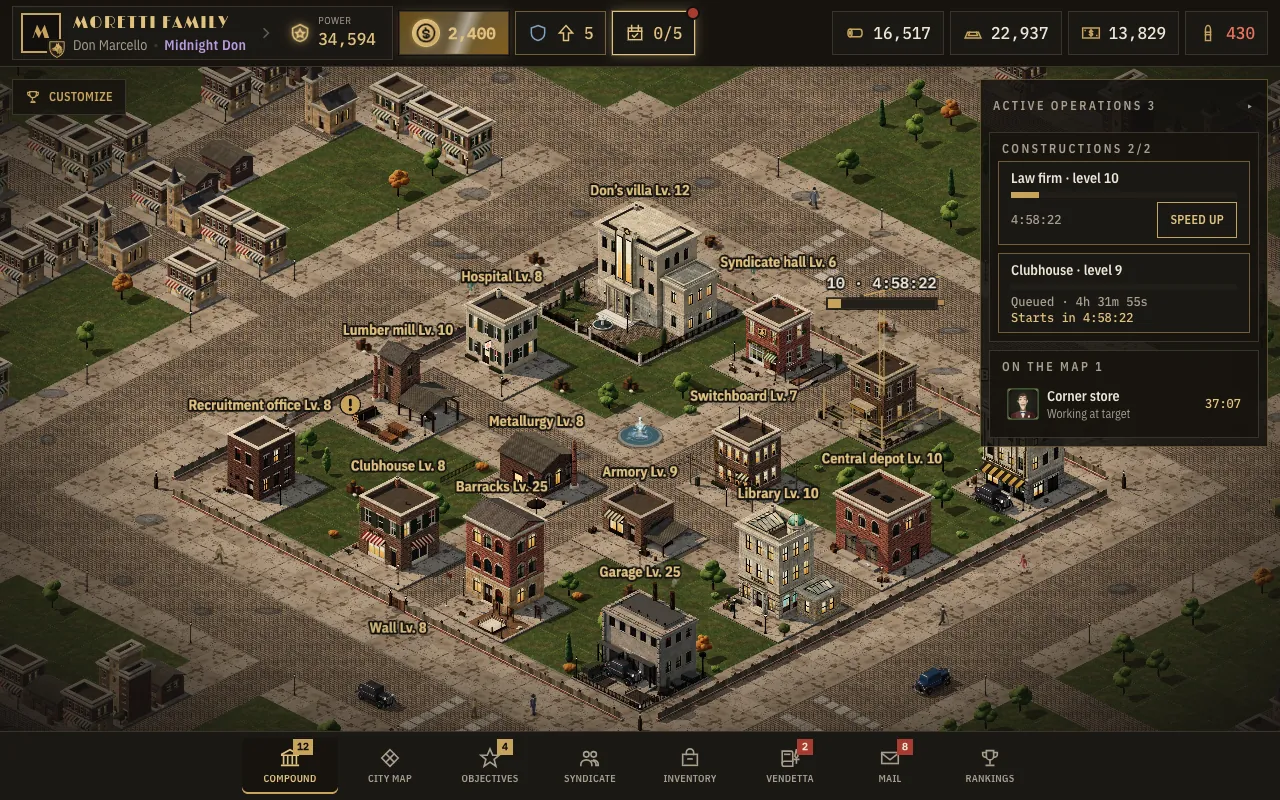
Build the Barracks
You do not start with an army. The Barracks unlocks at Villa level 3 and needs the Lumber mill, Metallurgy and the Clubhouse at level 1 or more. Once it is up, train your first men. A few Brawlers work very well at the start. Hauling vehicles are assembled in the Garage, unlocked at Villa level 4.
More in The game: The armySend your first convoy
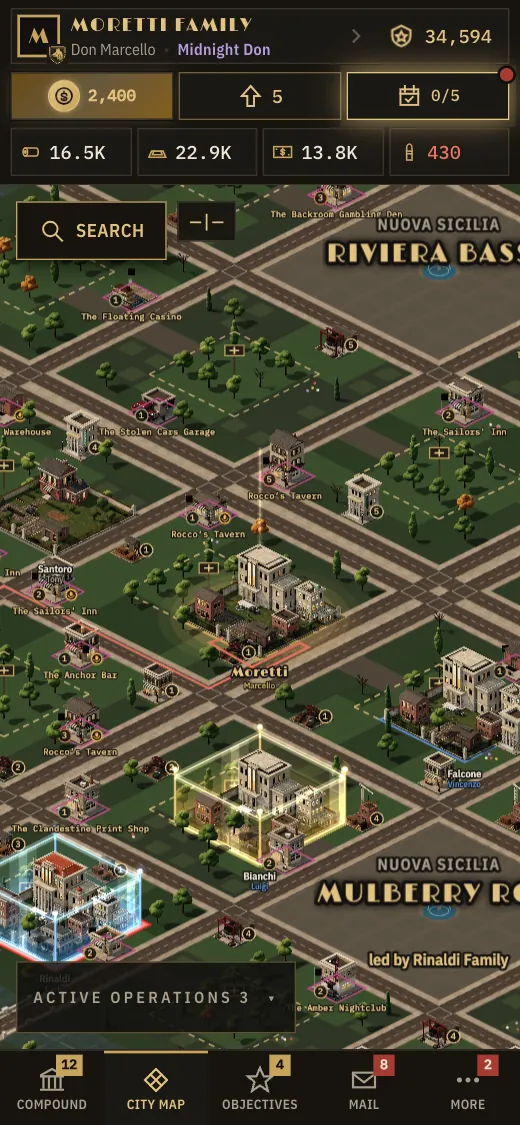
Open the map, pick a resource point in your neighbourhood and click it. Choose troops, choose a Capo (mandatory) and send the convoy. You will watch it drive along the streets, gather resources and come back.
More in The game: Map and neighbourhoods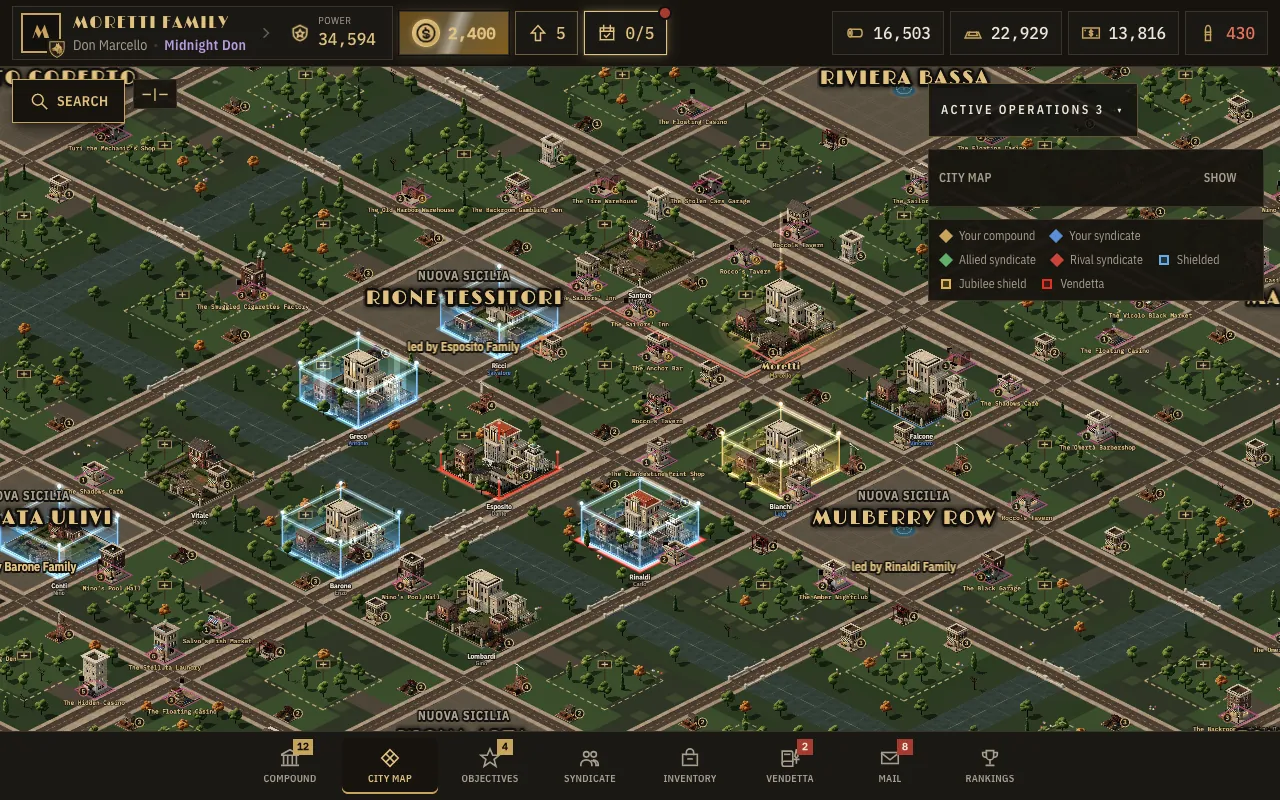
Earn Capos and hit the racket
With the cash you gather, recruit more Capos at the Recruitment office, which unlocks at Villa level 5. When the army is ready, attack a low-level racket. If you win it, you occupy it for 2 hours, earn income every minute and Capo fragments, and your Capo gains a level.
More in The game: Combat and shields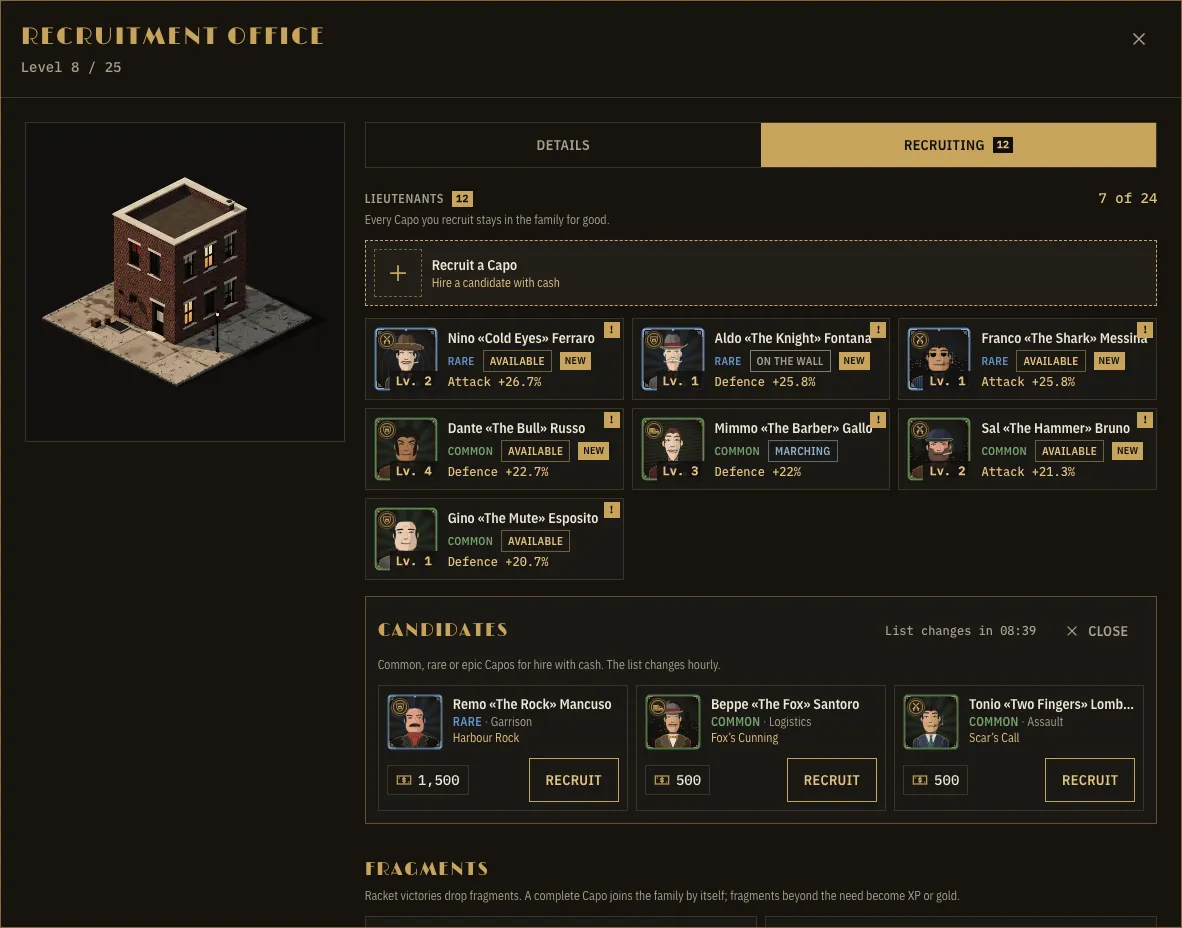
Defend yourself wisely
After the 72 hours, any compound without a shield can be attacked. Keep troops at home, build the Wall, put two Capos on guard and do not leave your depots full: the safehouse only covers a share. Watch the attack alarm in the top bar.
More in The game: Combat and shieldsClaim your rewards
In the Objectives tab, on the Daily Newspaper, you press Claim on every completed mission before the next edition at 08:00. You get resources, gold and items that land in your Inventory: resource packs and speeders that shorten constructions, research and training.
More in The game: Objectives and inventory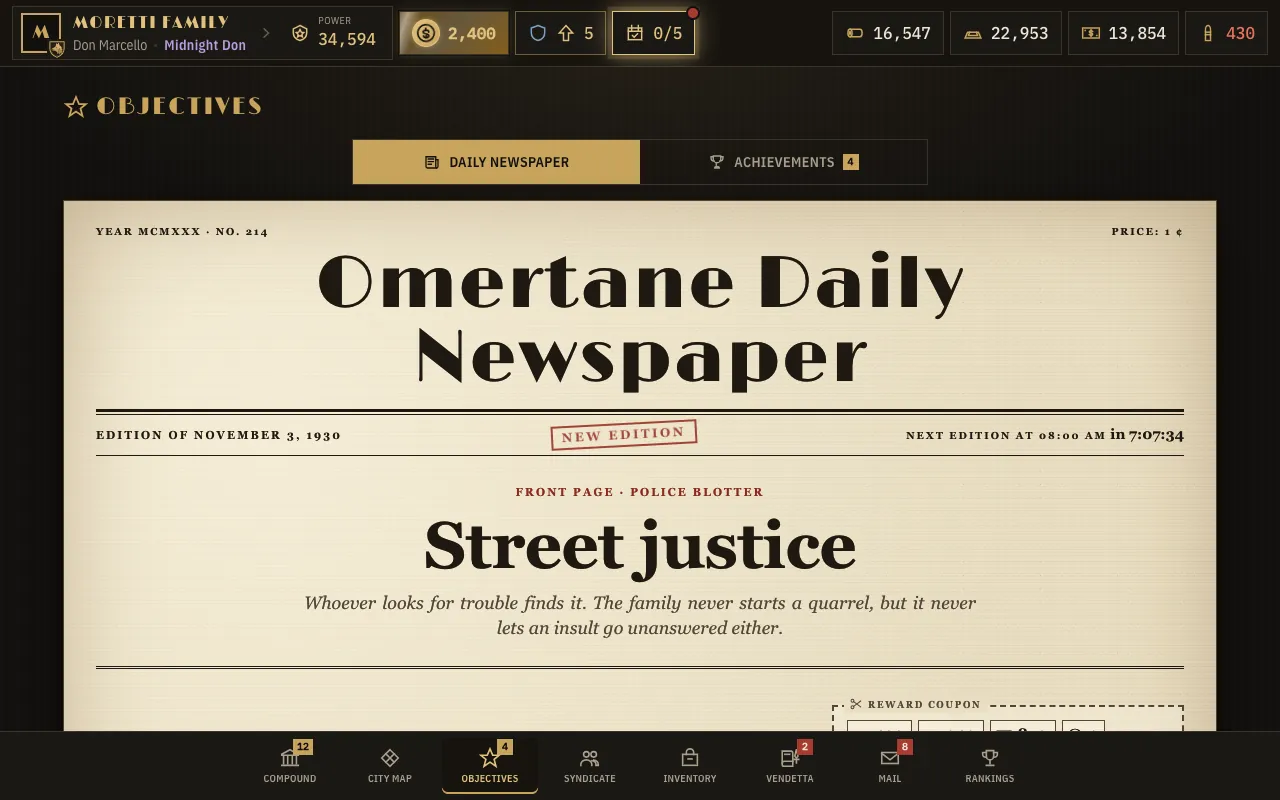
Do not stay alone
After you build the Syndicate hall (Villa level 4), with 1,000 gold you found a syndicate, or you can join one that still has room, or send a join request. Members do not attack each other, they send reinforcements, talk in the shared chat and make allies.
More in The game: Syndicates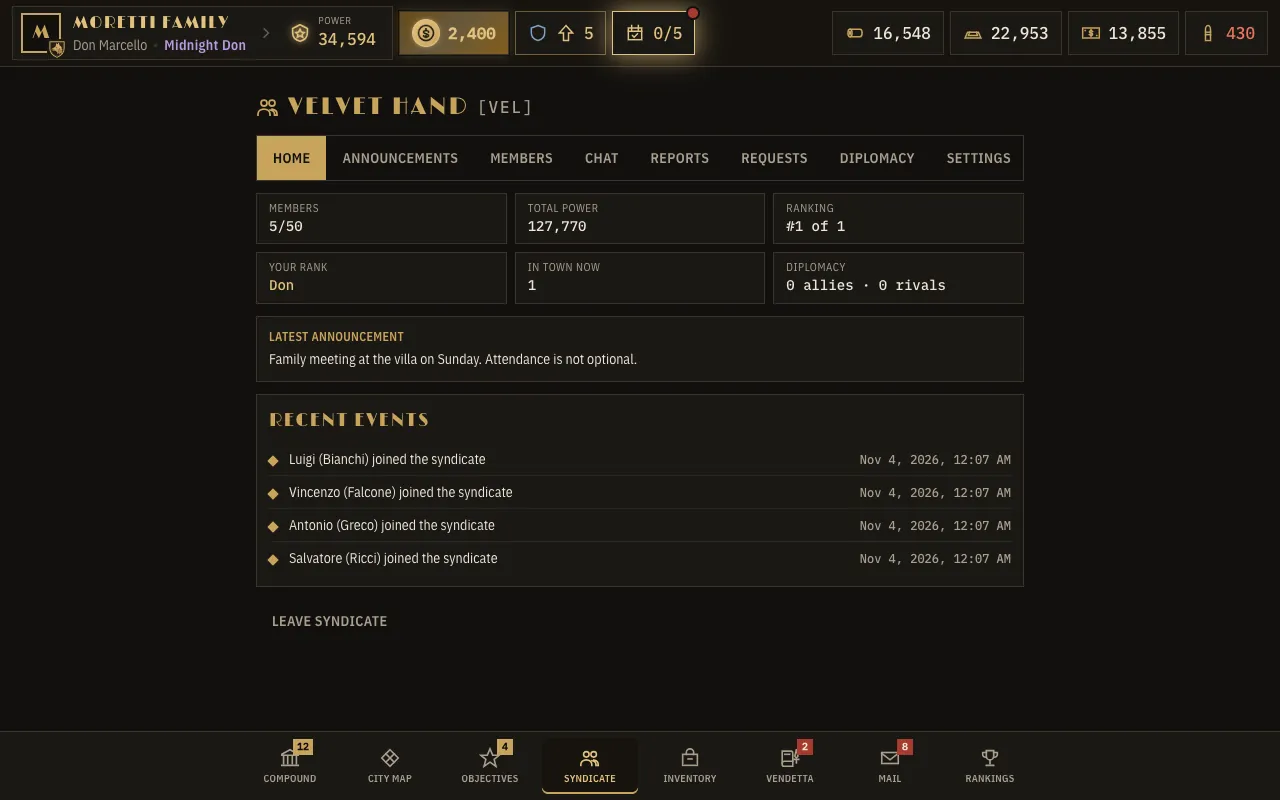
Discover the underworld
As you raise the Villa, new buildings appear: the Garage and the Syndicate hall at level 4, the Law firm and the Switchboard at level 5. The Clubhouse opens the Club from level 2, and the Black Market is open from the start.
More in The game: The underworld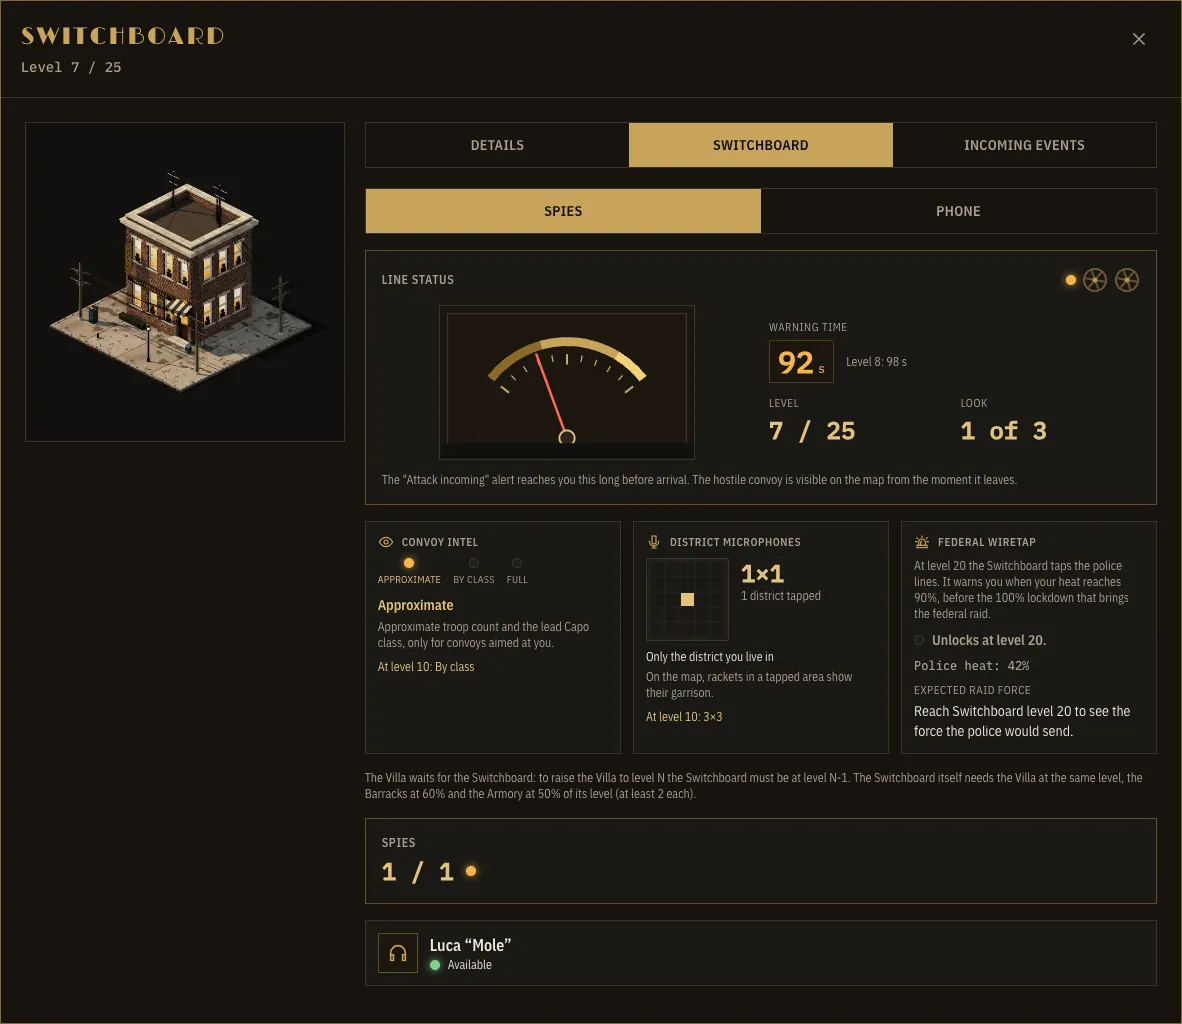
Advice from people who have already lost
- Never leave the construction queue empty overnight. You pay when you order, and an order cannot be cancelled.
- Queue the long researches before bed. You have one research slot at the start, so time matters, and gold can add two more.
- Mix the classes. A one-type army loses easily to its counter.
- Gather with vehicles: they have the biggest carrying capacity and bring back more from every trip.
- Do not attack a compound without enough bullets and troops left at home: revenge comes fast.
- Read the reports, and check the power comparison in the convoy dialog before you send: it shows the verdict, the luck range and every factor.
- Read speeders carefully: a speeder bigger than the time left is wasted, and the game warns you first.
- Use an inventory shield before you leave for a long time. It costs less than a plundered depot.
- Keep Heat under 50%: from there attacks on players cost 25% more ammunition, and at 100% the federal raid arrives.
- Pick up the phone: the call on the hour rings for only 5 minutes, and every choice has its cost and risk written down beforehand.
- Follow the gold and red badges: a gold one means a reward to claim, a red one means a decision or an answer is waiting, and the number tells you how many.
- Open Customize on the Compound screen to pick a title, pin your best trophies and decorate the gate, roof, yard and street of your compound. It is only style, but everyone sees it.
What an ordinary day looks like
You do not have to be glued to the screen. Five short visits a day are enough to keep a family on its feet.
- Morning
Collect and invest
You check the depot: wood, iron and cash piled up overnight. You line up an upgrade and a research, then read the daily newspaper and claim the rewards of the missions you completed.
- Noon
Send convoys
You load your trucks and send them to a resource point in the neighbourhood or, if you feel bold, to a gang racket.
- Afternoon
Gather the troops
The Barracks finishes a training batch. The wounded from the last clash walk out of the hospital and go back on duty.
- Evening
Read the reports
The convoys are back. You see what they brought, who took losses, which Capo gained a level and which fragments dropped.
- Night
Sleep tight
The night bonus helps your defence. By morning the city is still yours, or at least you will know exactly who knocked on your door.
Play anywhere
Built for phones too
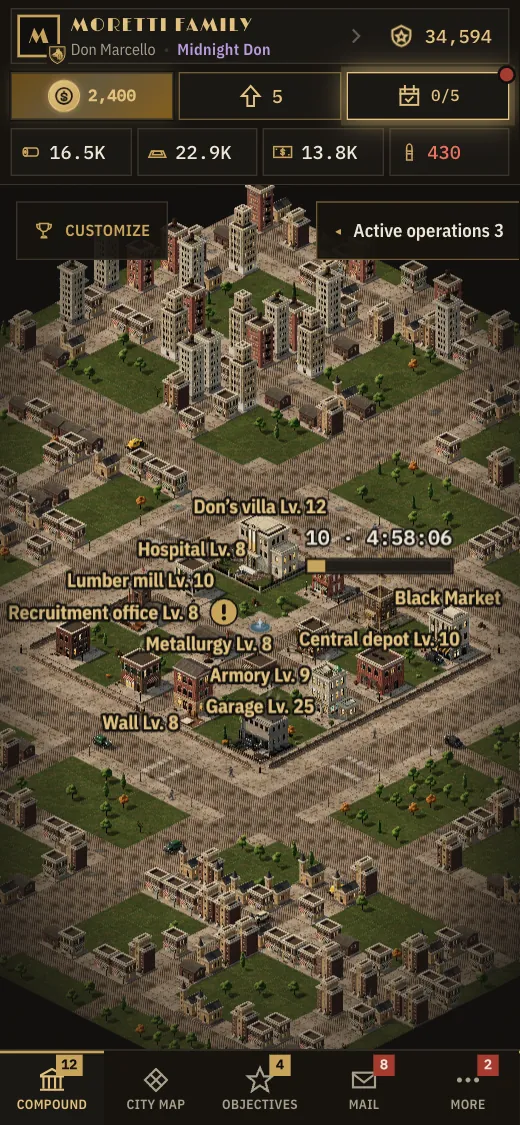
The interface adapts to your screen: the resource bar, the map and the building windows work as well on a phone as on a big monitor. There is nothing to install, so pop in for five minutes on your lunch break, send your convoys and get back to work.
Words you will see
Six words you will meet in the first hour. Each one opens its entry in the glossary.
- CompoundYour private base: the villa, the buildings and the wall. It is never destroyed or conquered.
- CapoA lieutenant with a name and talents. No convoy leaves without one.
- ConvoyA group of troops marching on the city streets: gather, attack or reinforce.
- RacketA local gang business. Beat it and you occupy it for 2 hours, with income every minute.
- ShieldA period in which the compound cannot be attacked. 7 days at most.
- HeatHow closely the police watch you, from 0 to 100%. At 100% a federal raid arrives.
Where to get help
The FAQ answers the common questions in a few lines, and Support replies to every ticket by email. Fair play and respect between players are set out in the Rules.
Need more?Read the FAQContact supportServer status
Read the RulesNext steps
You know how to start. Here is where to go from here.
Ready to roll?
The first 72 hours are under shield. That is all the time you need to get your family on its feet.